
Justine Pearl L. Tan
✓
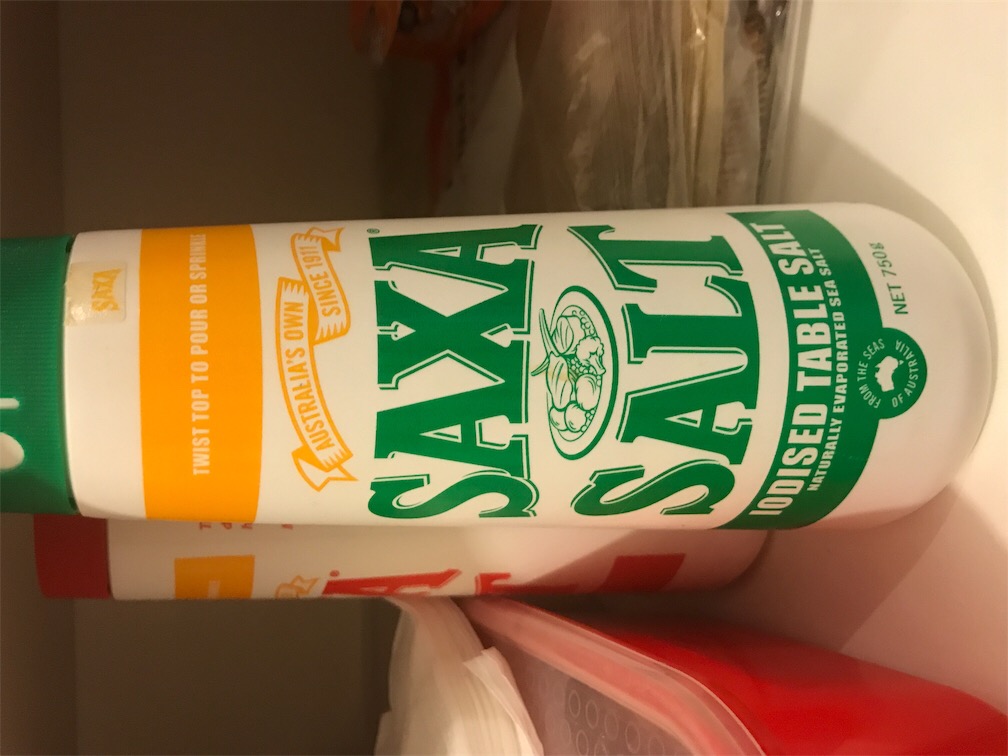
best salt I want to recommend
best salt I want to recommend
Receipt-verified shopper feedback for this product.
All reviews are collected by invitation after a verified purchase and reflect real ownership across online and in-store transactions.
Justine Pearl L. Tan
May 14, 2019
best salt I want to recommend

Remy Zoleta
May 13, 2019
cheap price i been using it for years and good product

Tharu Dahanayake
May 9, 2019
Good for cooking. Handy container

Amy Jessica
May 6, 2019
great for cooking not to strong, the container is great and use it in all cooking great flavour for a curry and is affordable

Tony Lush
Feb 14, 2019
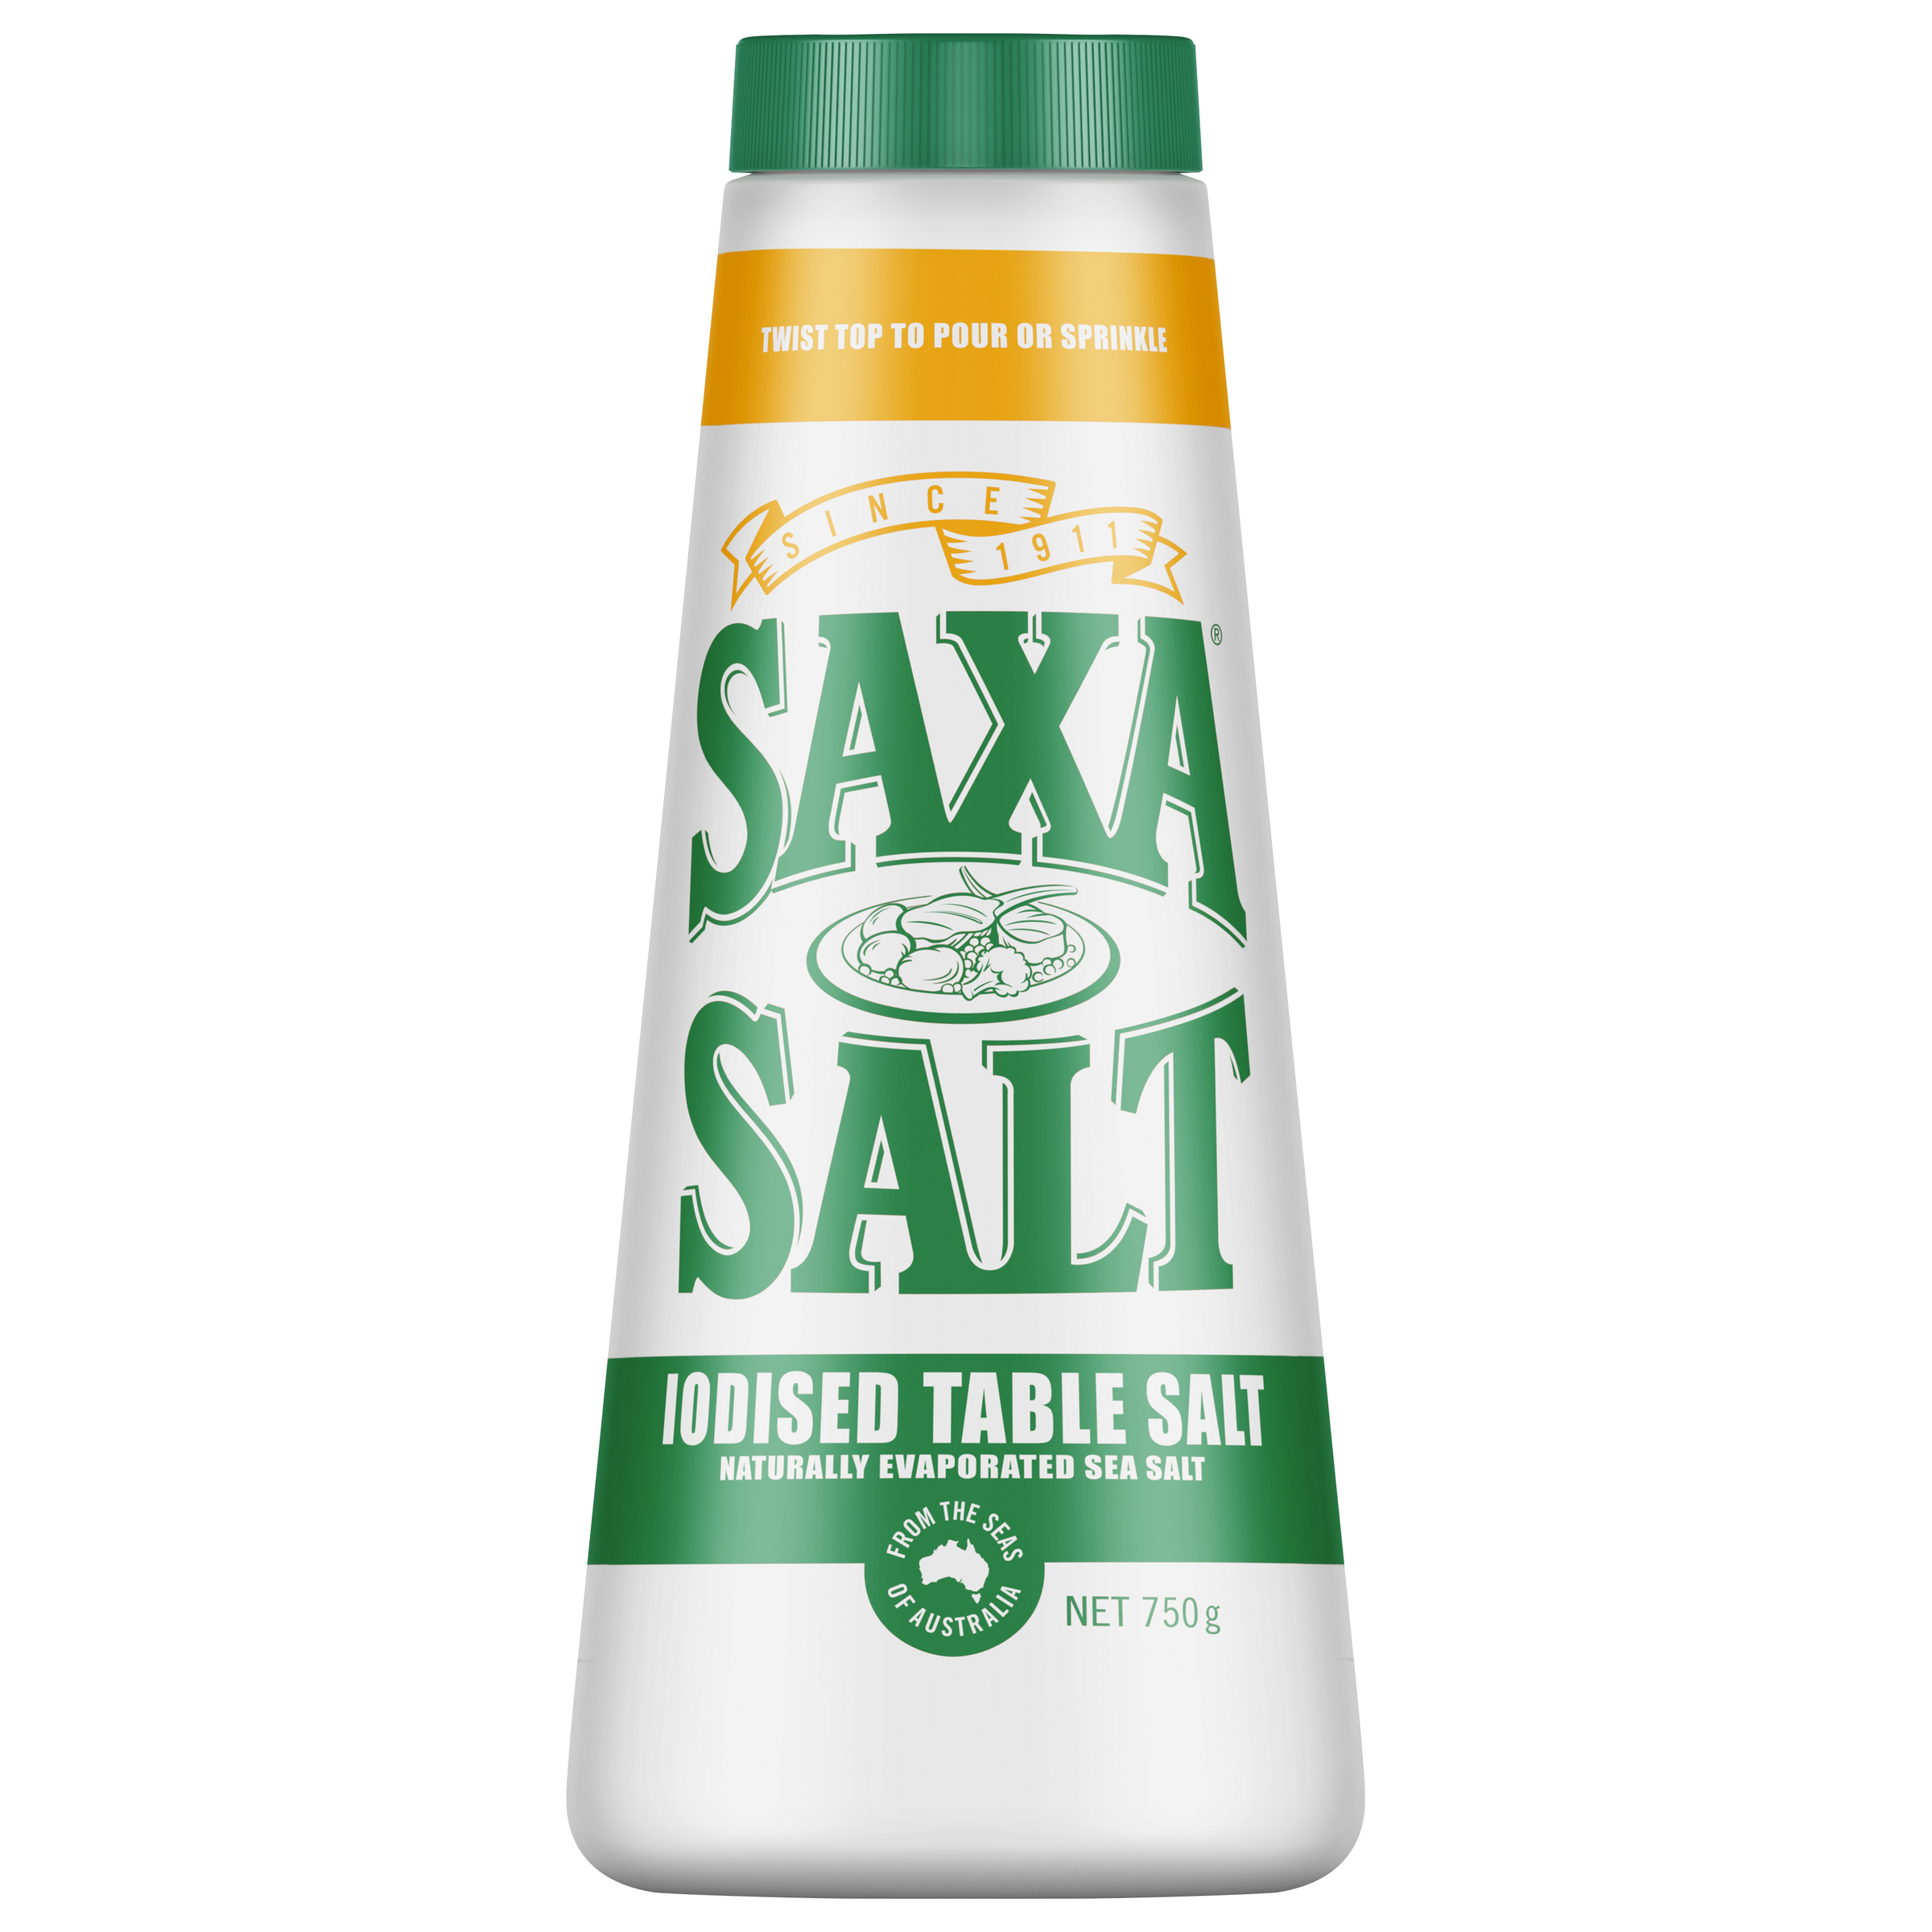
Salt , what a nesscary part of life We in Australia are lacking in Iodine and unless you have a thyroid problem or if worried seek medical advice first for safety) it is better to go for the Iodised salt to get your daily amount it tastes a little stronger than normal salt but is worth giving it a go I have been using it for as long as I can remember It is great for preserving foods or making up a brine solution for making hams or bacon or corned beef or even cleaning your teeth with as a mild abrasive ! Heres a recipe to make Dry Salt-Cured Olives It isn't mine but still all the same delicious to eat dry cured olives Total: 10 mins Prep: 10 mins Cook: 0 mins Yield: 1 quart (32 servings) 78 ratings Add a Comment Nutritional Guidelines (per serving) 40 Calories 4g Fat 2g Carbs 0g Protein See Full Nutritional Guidelines (Nutrition information is calculated using an ingredient database and should be considered an estimate.) This is one of the simplest ways to cure olives. The result is identical to the full-flavored, slightly wrinkled "oil cured" black olives that you can buy. Unlike water-cured olives, these are usually served without the embellishment of herbs or other seasonings. Ingredients Steps Comments Ingredients 2 pounds/1 kg small, ripe black olives 1 pound/0.45 kg kosher or sea salt 1 tablespoon/15 ml extra-virgin olive oil Steps to Make It Choose fully ripe, small olives for dry salt-curing. Remove and discard any stems that are still attached. Rinse the olives clean with water and drain them well in a colander. With the tip of a sharp paring knife, prick 1 or 2 small holes in each olive. Glass Jar or Crock Method Spread a 1/4-inch thick layer of the salt over the bottom of a large glass jar or ceramic crock. Add a layer of olives on top of the salt. It's okay if the layer is 2 olives deep, but it shouldn't be more than that. Cover the layer of olives with more salt. Add another layer of olives. Repeat until all the olives are completely covered in salt. Leave at room temperature, stirring the olives or shaking the jar once a day and adding more salt if necessary to keep the olives covered . The olives will start to exude their bitter juices and the salt will turn into a moist paste. If it becomes totally liquid, drain the olives and return them to the container with fresh layers of salt . Muslin Bag Method Alternatively, combine the olives and salt in a muslin bag (a clean pillowcase will work if you don't use fabric softener or other perfumed laundry products). Hang the bag over a bucket or bowl so that any liquid that leaches out of the olives during the curing process doesn't make a mess. After 3 weeks of either method: Rinse the salt off of an olive and taste it. If it is still too bitter, continue to cure the olives, adding salt to absorb the juices, and testing the flavor about once a week. When ready, olives cured by the dry salt method will have shriveled up and have a very mild, bitter but pleasant flavor. Once the olives have reached that stage, brush off or very quickly rinse off the salt. If you rinse, spread the olives out in a single layer and let them dry off completely before proceeding. This can take several hours (overnight is fine). Toss the cured olives with 1 tablespoon of extra-virgin olive oil. Store at room temperature for up to 1 month, in the refrigerator for up to 6 months, or in the freezer for up to a year.
Izzy Vander Reest
Jan 26, 2019
You can use this salt with just about everything and adds that little bit of taste that’s missing in people’s cooking. 10/10!
Showing 73-78 of 90 reviews